Poppy Playtime Chapter 4: Puzzle Codes Revealed
- By Owen
- May 04,2025
Navigating the intricate puzzles of *Poppy Playtime Chapter 4* can be a challenging yet thrilling experience, especially with the cryptic riddles that await you. If you find yourself stuck, this comprehensive guide will help you crack all the puzzle codes in *Poppy Playtime Chapter 4*, ensuring you don't miss out on the full horror experience.
All Poppy Playtime Chapter 4 Puzzle Codes
Poppy Playtime Chapter 4 Hangman Puzzle Code and Solution
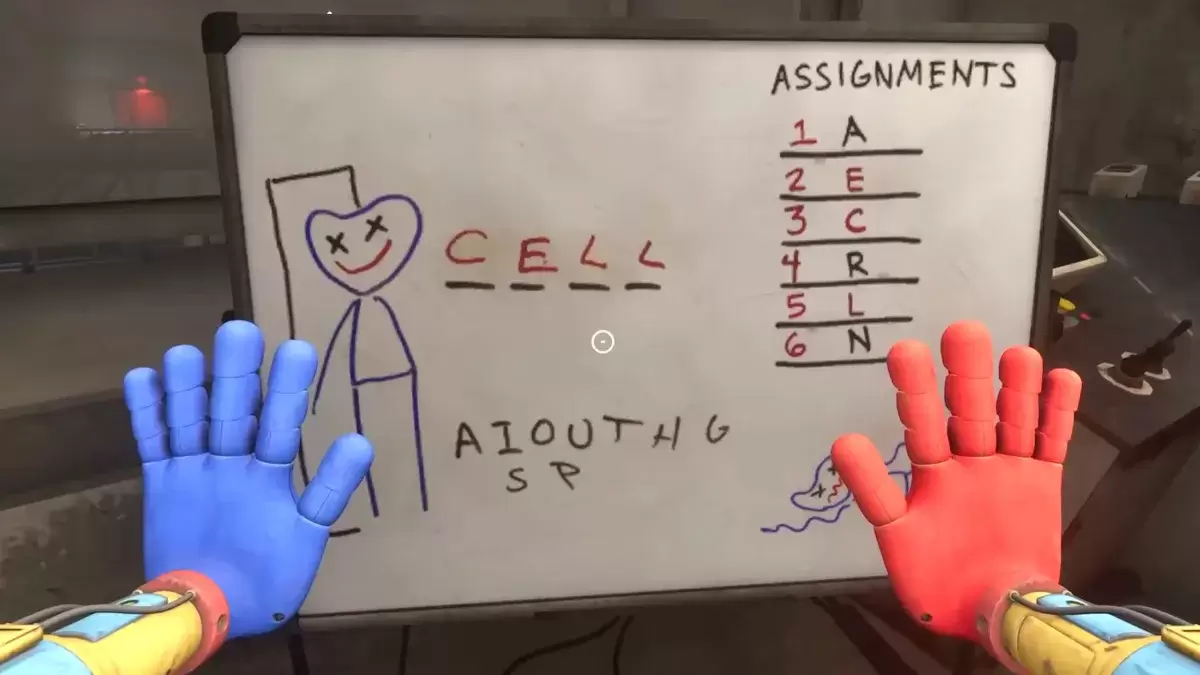
The first puzzle you'll encounter is in the cell block area. Ascend the stairs to the top floor and enter the observation area. Inside, you'll find a code terminal, a red button, and a whiteboard. There's also a second red button next to a large animal cutout, but it's just for fun—you can press it or ignore it.
The code for this puzzle is derived from the numeric values of the letters that spell out the winning word in the Hangman game—CELL.
The code is: 3255. Input this code and press the red button to unlock the door at the far end of the cell block.
Poppy Playtime Chapter 4 Cage Calendar Puzzle Code and Solution
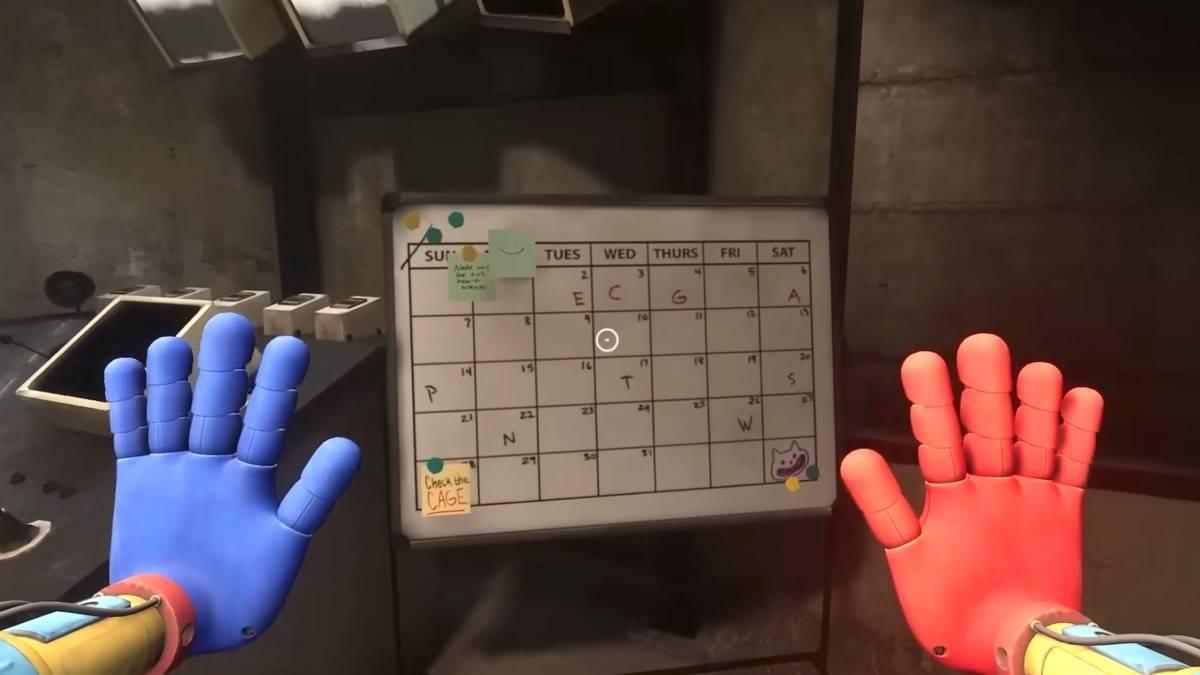
To solve this puzzle, which clears the red smoke from the prison block, head to the control room upstairs. Near the front window, you'll find a code panel and a whiteboard with a sticky note prompting you to "check the CAGE." The top row of the calendar on the whiteboard has four letters in scrambled order. The code is the numeric values corresponding to the letters in the word "cage."
The full code is: 3642. After entering this code, the smoke will dissipate, allowing you to exit through the newly-shattered window to your left. You can also explore the previously smoke-filled area downstairs, though there's nothing new to discover.
Related: All Characters and Voice Actors in Poppy Playtime: Chapter 4
Poppy Playtime Chapter 4 Prison Tower Puzzle Code and Solution
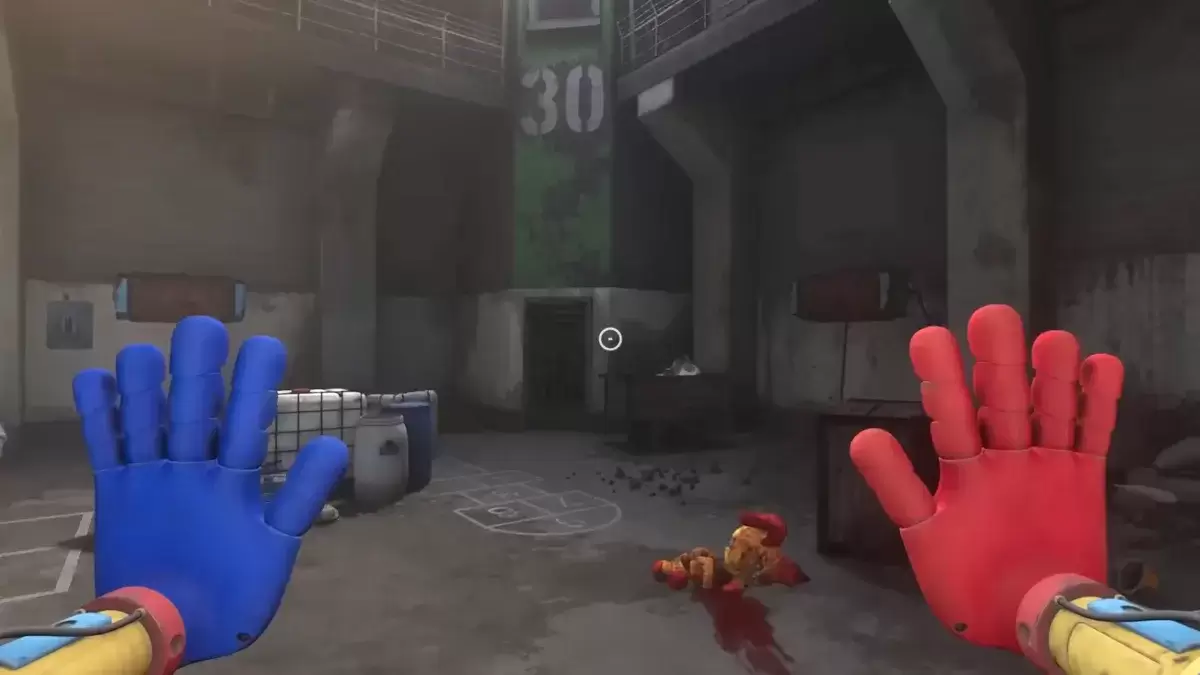
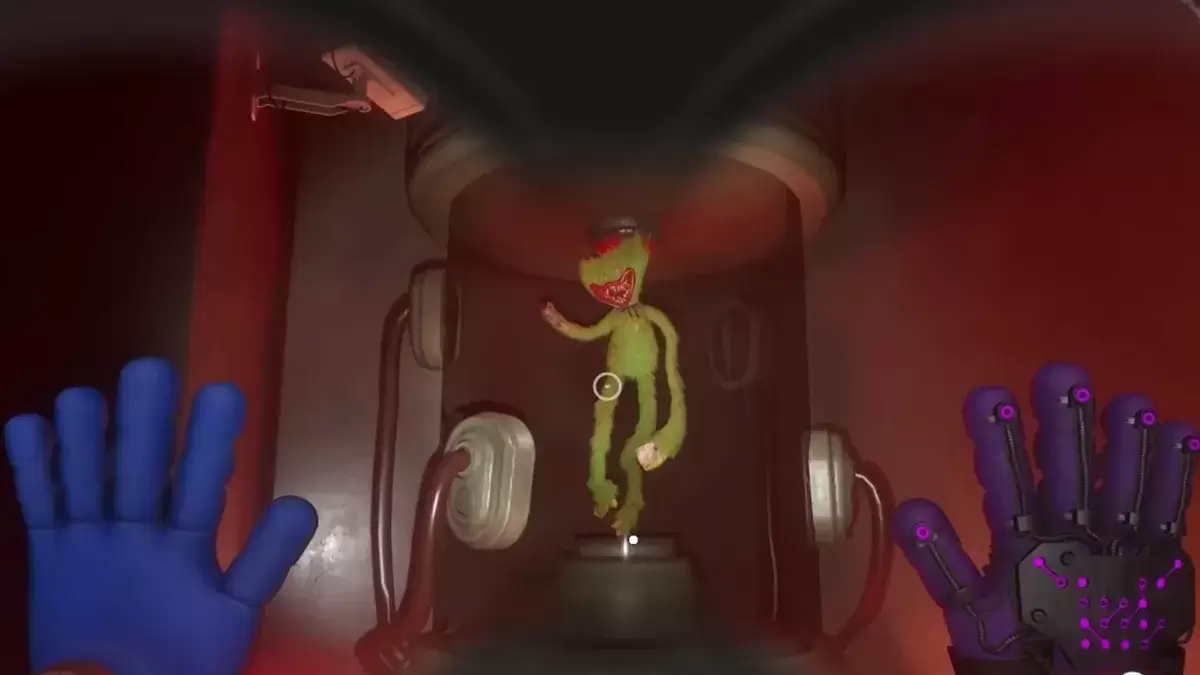
After your encounter with Doey, you'll be trapped in the prison's recreation yard. Climb the stairs to the office at the top of the blue tower, where you'll find a code terminal and a whiteboard listing colors. This list is your first clue, and the towers provide the second, specifically, the second number on each tower.
The correct number sequence is based on the second number of each tower, in the order of the colors listed—blue, green, yellow, and red. The blue tower's second number is missing, but the sequence on the other three towers indicates that it should be 33.
That means the final code is: 3021. Retrieve the lever from the locker, slot it into the blue panel in the prison yard, and attach chains from each tower to the door. Pull the levers to open the door and escape the area.
Poppy Playtime Chapter 4 Secondary Labs Puzzle Code and Solution
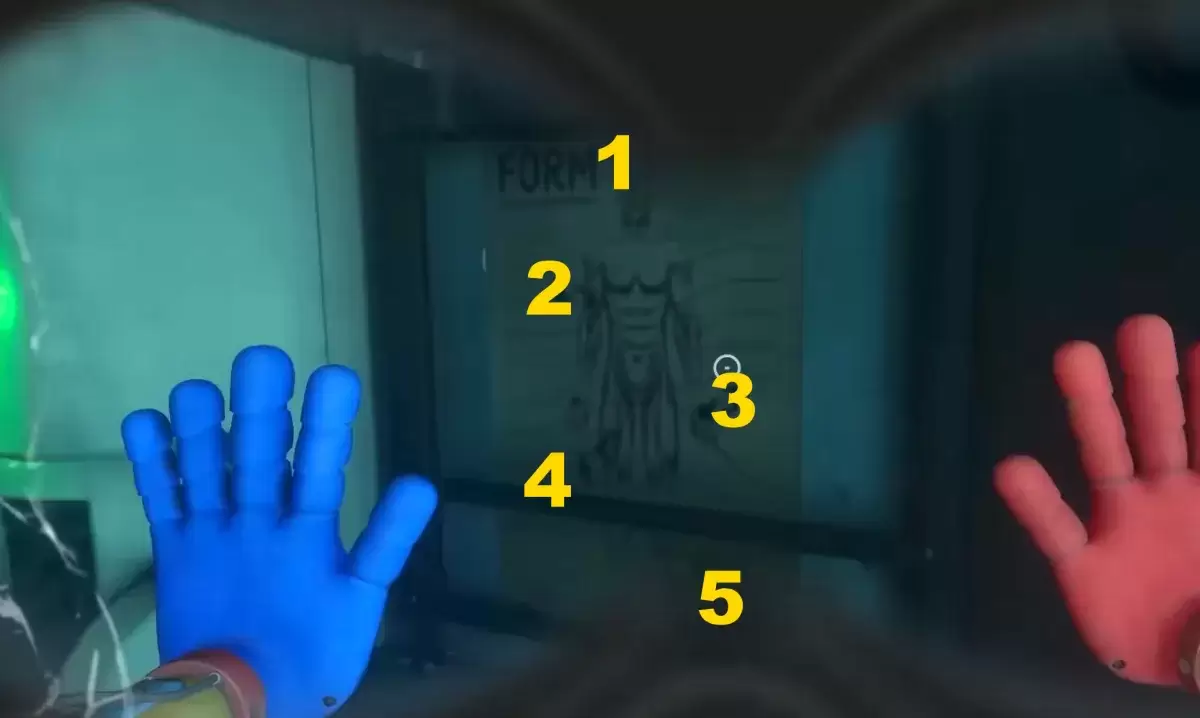
The Secondary Labs puzzle requires matching numbers to images of stuffed animal anatomy, a task made challenging by the red smoke filling the Doctor's Domain. Equipped with a gas mask, you can explore the gas-filled maze, but only for a short time before needing to refill your oxygen tank in the operating room.
Navigate the maze by following the sounds and dialogue from the experiments, which grow louder as you approach. If you have hearing difficulties or can't increase the volume, you'll need to thoroughly explore the maze to locate all five experiments.
Once back in the operating room, you'll see each experiment displayed on a monitor with a string of numbers. The last number in each string is crucial for the code, and the anatomy chart next to the dispenser dictates the order—head, right arm, left hand, right leg, left foot.
You can bypass the exploration and enter the code directly: 35198
With these puzzle codes in hand, you're now equipped to delve deeper into the chilling world of Poppy Playtime Chapter 4 and uncover its unsettling ending.
Poppy Playtime: Chapter 4 is available now.
Latest News
more >-

-

- GTA 6 May Feature Cameo by DJ Khaled
- Apr 03,2026
-
-
-